This Thai soup was my number one craving when I was first pregnant with my second son. The funny thing? I had never actually had it before. I simply saw a picture and it looked irresistable and after looking at the recipe, it was confirmed – I needed this soup in my life. You do too. Ginger and lemongrass make this chicken soup exotically different and coconut milk provides a silky richness. Like traditional chicken soups, you can use whichever vegetables are your favorite, so this is a great way to load up. It is extremely healthy, easily customizable and if you keep homemade stock on hand or have a reliable store bought brand, it’s fast as well. Try it soon!

Tom Kha Gai
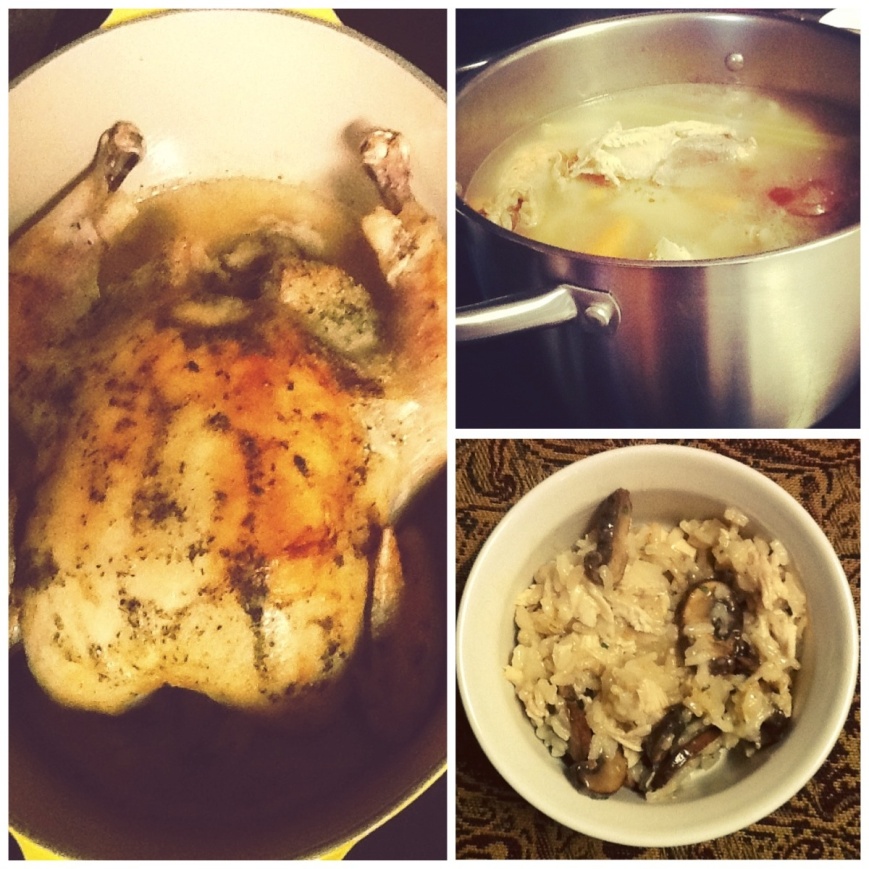
(Not the prettiest picture, but the most delicious soup!)
Ingredients
4 cups chicken stock
1 can (check for BPA Free)Full Fat Coconut Milk
1 inch piece Ginger
2 inch piece lemongrass
2 tablespoons fish sauce
3 cups chopped vegetables of choice (my favorites: halved sugar snap peas, sliced button mushrooms, sliced carrots, broccoli florets, sliced red bell pepper)
1 cup cooked chicken (reserved from stock or cooked seperately)
Sriracha and cilantro to top soup if desired.
Peel ginger and cut into three large chunks and split lemongrass down the side. In a large stock pot, add the ginger, lemongrass and chicken stock along with 1/2 cup water. Simmer over low heat for approximately 1 hr until the broth smells fragrant. Remove ginger and lemongrass and add stir in the coconut milk and fish sauce, then add the chicken and heat completely.
Prepare vegetables and add to soup bowls. Most vegetable can be left raw, but harder vegetables like broccoli and carrots should be blanched beforehand so that they are soft.
To serve, ladle hot broth over the vegetables, top with sriracha and cilantro and eat immediately.